
Purpose #
This document provides step-by-step instructions on how to complete an application for a Phytosanitary Certificate on the eCert platform. An application for a Phytosanitary Certificate will be completed by users wanting to export agricultural products.
The eCert application can be accessed via the URL: https://app.ecert.co.za
Pre-Requisites #
To be able to complete a Phytosanitary Certificate Application a user must be registered on the User Authentication Service (UAS).
If you are not already registered as a user on the UAS then please do so on your platform first, for the fruit sector this will be PhytClean or via eCert (Refer to Register New User on User Authentication Service (UAS) Guide)
Make an Application #
- Click on Apply
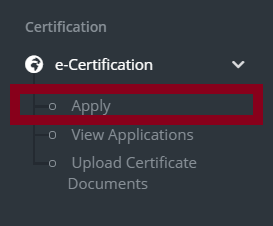
You will then be able to fill in an application using a wizard-like system.
Agreement #
To complete the agreement, use the drop-down arrows as highlighted in Figure 2.
- Select Type of Agreement
- Select Agreement. Once an Agreement is selected an Agreement Information panel is displayed showing the details that correspond to that Agreement
- Select Importing Country


View Agreement PDF #
- To view a particular Agreement, select the Agreement and click on the
 button to view or print the Agreement to PDF (not required)
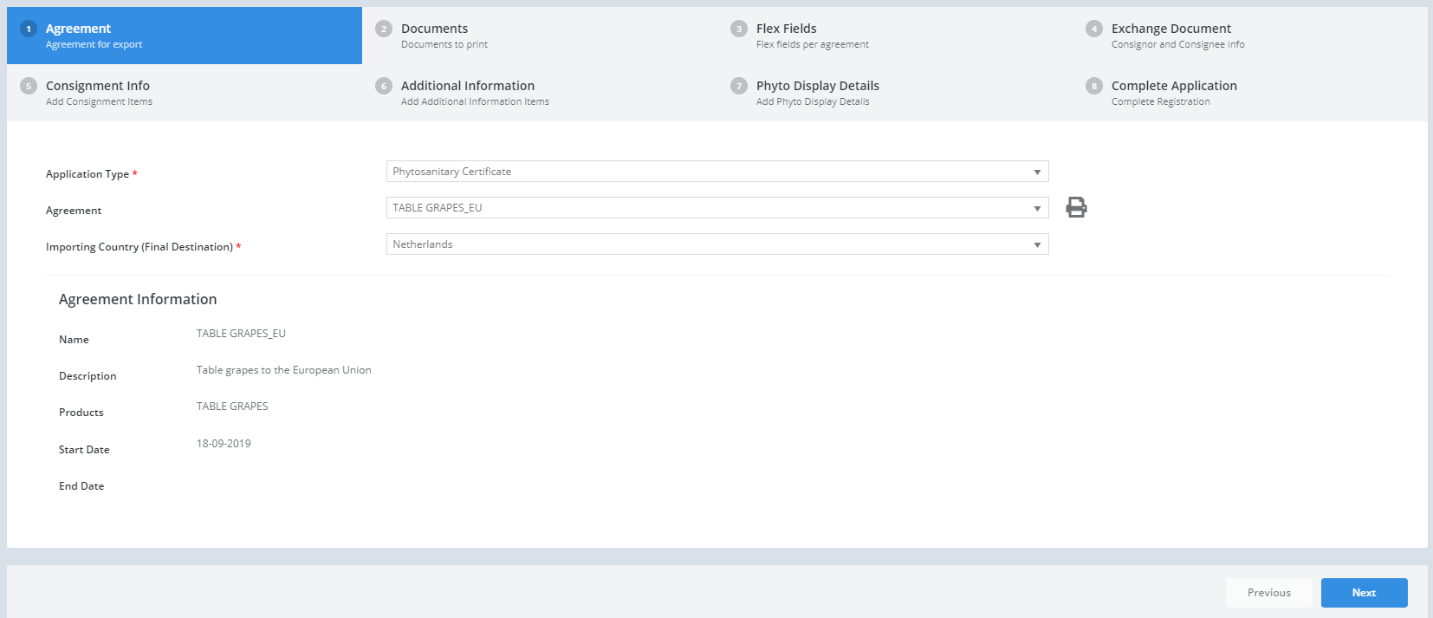
- Then press Next to continue
Please note: This is a search tool that can be used to search for specific information. It is included in each dropdown.
Documents #
The Agreement selected will dictate what type of documents need to be uploaded and/or printed. These documents will be printed together with the Phytosanitary Certificate.
- To upload a document please click on select files.
- Select the relevant files and add them
- Ensure your documentation is correct to prevent a Rejection of your Application


- Press Next
Flexi Fields #
This screen is used to capture flexible data that may be required for certain markets. Flexi Field data captured will go into the additional declarations on the Phytosanitary Certificate.

- Press Next
Exchange Document #
- Fill in the details of the consignor, consignee, transport and payment information in the fields provided.


Please Note: Payment Type is a required field, please select “Account or Cash” payment type and press Next.
- Under CBR Owner reference, A drop-down list of businesses you are linked to will appear
- Under CBR Billing Reference please add the business which will be billed for the Phytosanitary certificate
Please Note:
If the CBR Ref is missing from the drop-down list and you are the owner of the company, then you will need to register your company on the CBR first. Refer to the Register New Business on CBR User Guide on how to do this.
Consignment Information #
You can add consignment items by either using the +Add New Consignment Item tab or by Upload Excel File.
- If you choose to upload excel sheet you can download the excel template sheet provided.
- The View all common names

Add New Consignment Item #
- Add consignment items by clicking +Add New Consignment Item

- Fill in the details for consignment in the pop-up window that appears
- Click Update
Please note: To see the Packaging section and Update you will have to scroll down.


Download & Upload Excel File #
- You can download an excel template for treated and not treated commodities
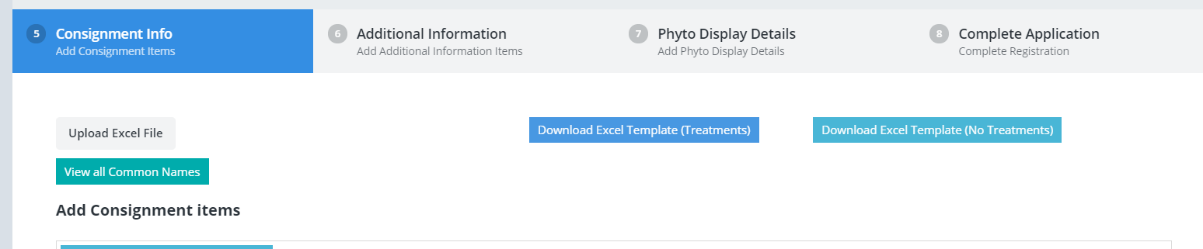
- An Upload Excel File option can be used to add a consignment item. This option will allow you to import consignment item information from an Excel file. To use this option, you can click Upload Excel File and select the excel spreadsheet from your files

- A pop-up message will appear to notify you that consignment items have been added successfully imported. Click OK

- Press Next

Additional Information #
- Complete this section by entering the necessary information. Information captured on this panel will be populated on the ePhyto PDF Addendum.

Add Trade Unit #
- Add the trade unit by clicking on +Add Trade Unit

- A pop-up window will appear, please complete all the fields and press Update

View Trade Units #
To view all properties of the Trade Units, on the grid, use the scrollbar (pointed out in Figure 17) and scroll to the right.
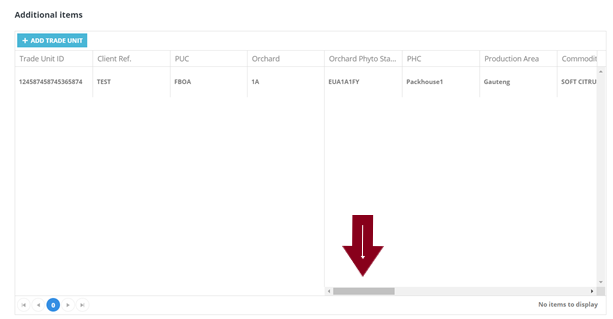
Each line item that you would have had on the addendum per pallet (for fruit) would be captured as a trade unit. For example, if you have 20 pallets you will have 20 records in the grid above (Figure 17).
Edit Trade Unit #
- Using the scrollbar, scroll to the right and click on Edit on the relevant Trade Unit that you want to modify
- Change details
- Click on Update

Delete Trade Unit #
- Using the scrollbar, scroll to the right and click on Delete on the relevant Trade Unit that you want to delete

- You will be prompted to confirm the deletion
- Press OK to delete the Trade Unit or Cancel to stop the deletion from happening

Upload Excel File #
- An Upload Excel File option can be used to add the Trade Unit. This option will allow you to import Trade Unit information from an Excel file. To use this option, you can click Upload Excel File and select the excel spreadsheet from your files.

- A pop-up message will appear to notify you that trade unit records have been successfully imported. Click OK

- Once all Trade Units have been captured, press Next

Phyto Display Details #
- This section can be used to fill in information that you would like to appear on your phyto
- To make changes on this page you will need to tick the checkbox provided.
Please Note: Agreeing to customize the printed certificate can result in a “Rejection status” of your Phyto if any data is captured incorrectly

- Press Next
Complete Application #
- You have reached the end of the application process. If you are satisfied, that the details you provided are correct, you can click on the Submit button (refer to Figure 20), otherwise, click on Previous and make relevant corrections

- A pop-up message with the NPPO application number will appear to notify you that the application has been successfully submitted. Click OK

- You will then be redirected to the View Application Page. On this page please click on the draft tab to view the application that you submit
- To filter your applications, you can click on the tabs below. To view draft ePhytos you can click on “Draft” and all applications created as drafts will appear, this applies to the submitted, approved, rejected, withdrawn and all tabs

- Description of the tools available on the View application page:
![]() Edit Application
Edit Application
![]() Copy Application
Copy Application
![]() Change to Submitted
Change to Submitted
![]() Delete Application
Delete Application
![]() Resubmit Application
Resubmit Application
![]() View application
View application
![]() Collect Certificate
Collect Certificate
![]() View Print details
View Print details
Please Note: You will have to change the status of the application to Submitted so that the DALRRD Inspectors can view the application and approve or reject it.